Use Mind map Editor (EasyMind 2.4.x & 1.0.1-AC)
- Tomáš Kubíček
EasyMind is a great brainstorming tool right in your Confluence
Basic operations with Mind maps
Once a new Mind map editor is open, you can see a default Central Topic. This will be your Mind map root Topic.
Selecting Topic
You can select a single Topic by left-clicking on it or multiple Topics by Ctrl/Cmd + right-click and drag or Ctrl/Cmd + left-click on it.
For more information about keyboard shortcuts visit this page.
Adding a new Topic / Subtopic
You can use the button ![]() for adding Subtopic or button
for adding Subtopic or button![]() for adding new Topic from the top menu, or you can use the following shortcuts:
for adding new Topic from the top menu, or you can use the following shortcuts:

Edit existing Topic in the Mind map
You can rename any Topic by selecting it and then start typing. You can also use these shortcuts:
After you finished editing just press Enter (or click anywhere in the editor) and all changes are immediately visible.
Your Topic can have multiple lines, just press Ctrl + Enter.
Copy and Paste Topic(s)

Select Topics, press Ctrl and Drag for copying under the target Topic
Deleting Topic
You can use Remove selected topic button ![]() or you can press Delete / Backspace button on selected Topic. This operation will also delete all Subtopics.
or you can press Delete / Backspace button on selected Topic. This operation will also delete all Subtopics.
Other operations with the Mind map
Copy and Paste text
With the selected Topic, you can Paste any text from various applications as a new Subtopics. The structured text will create a new Subtopic for each paragraph or list item (all Subtopics will be inserted on the same Mind map level).
If you Copy several Topics and Subtopics from the EasyMind editor, you can Paste them as a structured list into any other text editor.
Styling your mind map
Your Mind map can be customized in many ways. In this section, you find information about Mind map formatting options in EasyMind.
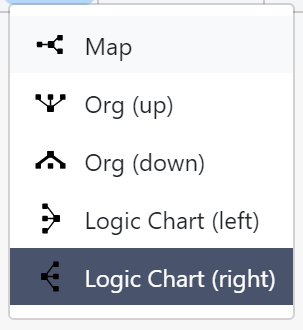
Mind map Structure

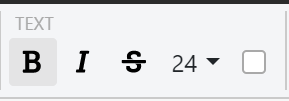
Text formatting
From the Text section of Main menu you can control various properties of Topic text. You can set the text to be Bold, Italic, Strike-through, change Font size or edit Font color.
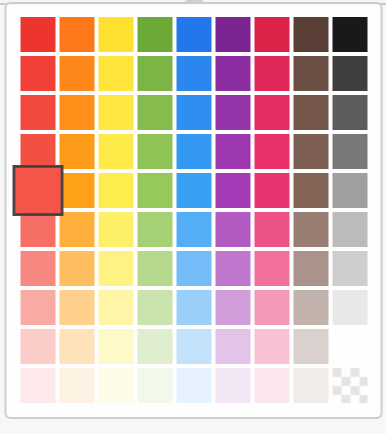
Color palette is also implemented for other coloring options (Topic background, Line color) it can be opened by clicking on the icon ![]() .
.
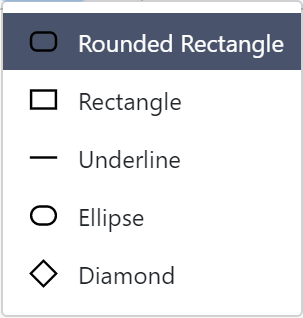
Topic shape
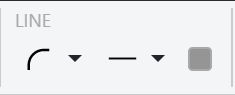
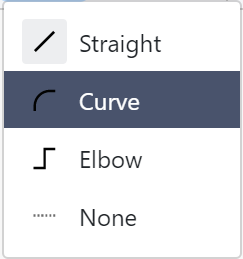
Line Style
In Line section of Main menu you can set Colour, Shape and Thickness of each line that is connecting Topic to all its Subtopics. There are four available shapes: Straight, Curve, Elbow and None.

Copy / Paste / Delete formatting
You can Copy and Paste Topic formatting by selecting Topic, clicking on the button Copy format and then clicking on Topic where you want to apply the same format. You can apply this copied format on multiple Topics by dragging over them.
All formatting changes for selected Topic(s) are deleted by clicking on the button Reset format.
Advanced Options
Includes
| Feature | Note | Button | Windows & Linux | MacOS |
|---|---|---|---|---|
| Pictures | You are able to insert pictures in your Mind map by inserting an image URL or upload a picture directly from your computer. Please note when working with a large picture or many smaller pictures (larger than 50MB), you might need to update the maximum allowed POST requests size, please get more information here at the bottom of the page. |
| Alt + ⇧ + P | ⌥ + ⇧ + P |
| Hyperlinks | Insert an URL in your Mind map Topic |
| Alt + ⇧ + H | ⌥ + ⇧ + H |
| Notes | You can add a note to any Topic / Subtopic in your Mind map |
| Alt + ⇧ + N | ⌥ + ⇧ + N |
| Labels | You can use Labels for annotation or categorization of any Topic / Subtopic. After clicking the Edit Topic Labels button a new window will be opened. Here you can manage all Labels assigned to the selected Topic. The same editing screen can be accessed by clicking on Label's name under every Topic. |
| Alt + ⇧ + L | ⌥ + ⇧ + L |
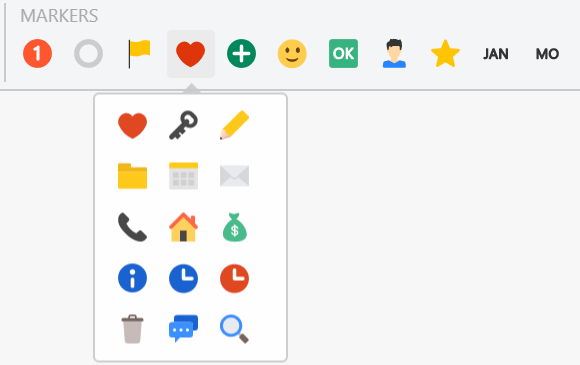
Markers
Each Topic can have multiple Markers assigned. These Markers are selected from Markers section of Main menu. You can choose from a lot of predefined types and shapes and apply them into your Mind map.
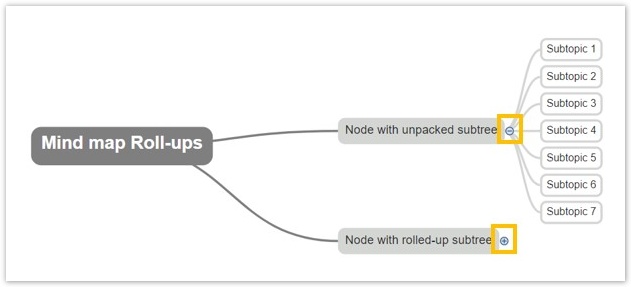
Working with view
Rolling-up Subtopics
You can hide / show Subtopics according to your preferences.