Create a new Mind map (EasyMind 2.8.x & 1.0.9-AC)
Creating mind maps in Confluence helps you with planning and organizing your work on a daily basis
There are two ways to create your mind map in Confluence, get to know both, and decide which one suits you the best.
Creating mind maps from a template
- Go to a given Confluence page
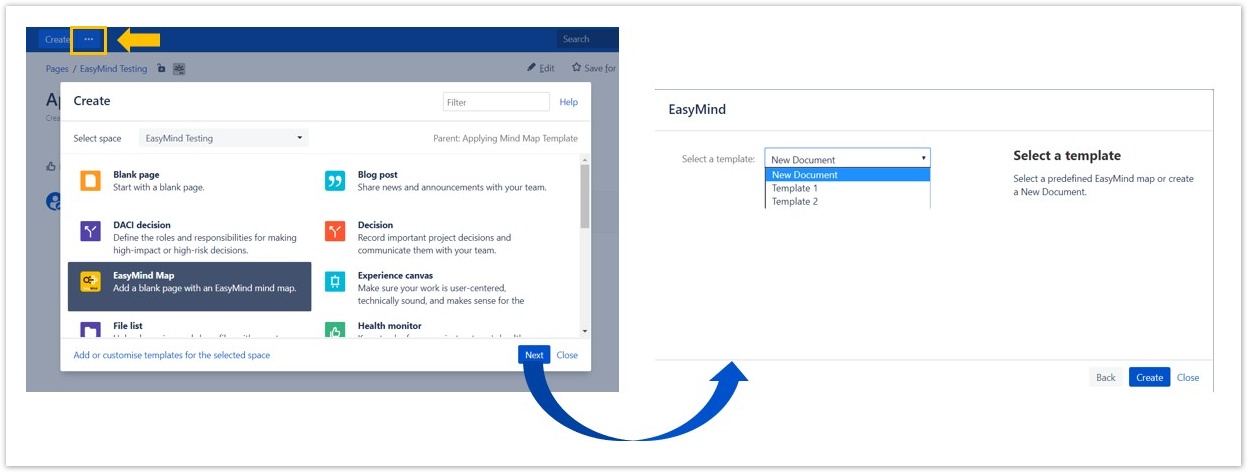
- Click Create from Template icon (three dots) as in the picture below
- Choose EasyMind map and click Next
- In the new window, choose whether you wish to insert a New Document or a Template created in the EasyMind administration
- Click Create and EasyMind editor will show up
Creating mind maps by inserting EasyMind macro
There are couple of options when inserting a new EasyMind macro into your Confluence page. Please follow these steps and find out more about the options below
- Go to a given Confluence page
- Click Edit
- Press the "+" icon at the top of the page
- Choose EasyMind (you can also find it under Other macros)
- Following window is displayed with these options:
New Document
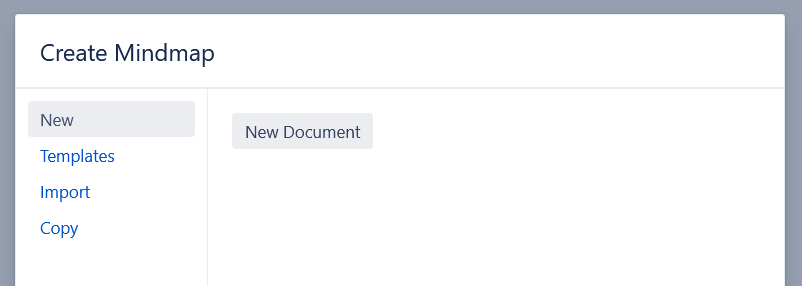
By clicking New Document, an EasyMind editor will be displayed and you can start with your new mind map
Templates
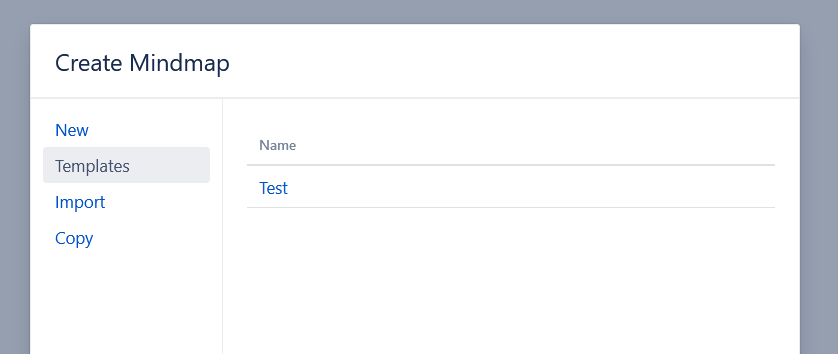
By clicking Templates, a list of templates will be displayed. Mind map templates are created and maintenance in EasyMind Configuration. Find out more about Templates here.
Import
This section is related to mind map import into EasyMind, more details on how it works can be found here
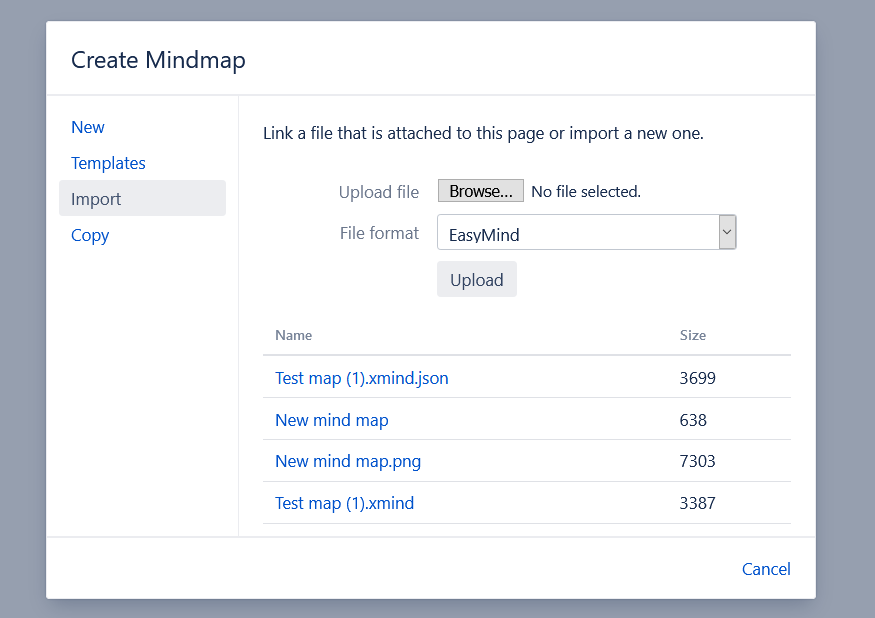
- Click Import
- Choose file
- Choose from the list of File format from the following options:
- EasyMind
- FreeMind
- FreePlane
- XMind (XMind 8 and lower)
- Click Upload
- You see your mind map name displayed in the window
- Click on it and the mind map will be displayed in EasyMind editor
Copy from other pages
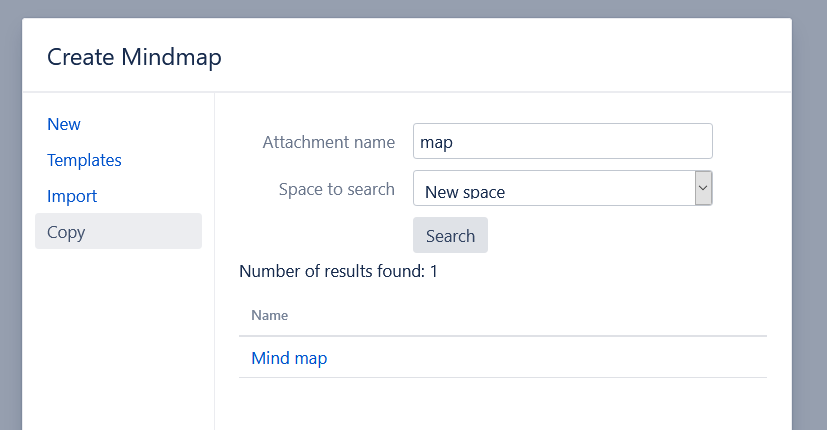
This section allows you to attach a mind map created on a different Confluence page.
- Click Copy
- Enter Attachment name (mind map name you wish to insert into your page)
- Choose Space to search at
- Click Submit
- You see your mind map name displayed in the window
- Click on it and the mind map will be displayed in EasyMind editor
* For proper save and display of special characters, the application server URI encoding must be set to UTF-8 encoding.